

At the first one I took a paper 30*30, that matched my card (ofcourse you can take any paper you like.) I put the card in the bottom of the paper.I draw a line about ½ cm from the card so it will be space enough.

Then I took the "big-blad"and draw it from the top of the paper to the bottom.

Then fold all 4 sides...

...and cut out the two triangles in the top of the paper.
 Now it would look like this if I have made you follow my instructions right :)
The next step is to give you the envelope the look that you like. I draw an ecliptic line and cut out.¨When I had done the cutting I took some double-sides tape and put the sides together (forgot to take picture at that)
 The last step was to shape the top, I made it a little wavy, and then put some double-sided tape so I can sealing it later.

Fold the paper in the center, then turn it and fold from the center even here. Now you will have four squares.

Now take the two sides that are at the opposite of eachother and fold it into the center.

Now you shall turn it around and fold it backwards so that the two tops will meet.

Put double-sided tape in the outer edges and match them togheter.

I did put an rectangular back on the envelope (doesn't shows here). Then I started to decorate it a little bit and put some ties in the bottom so I can hold it togheter.
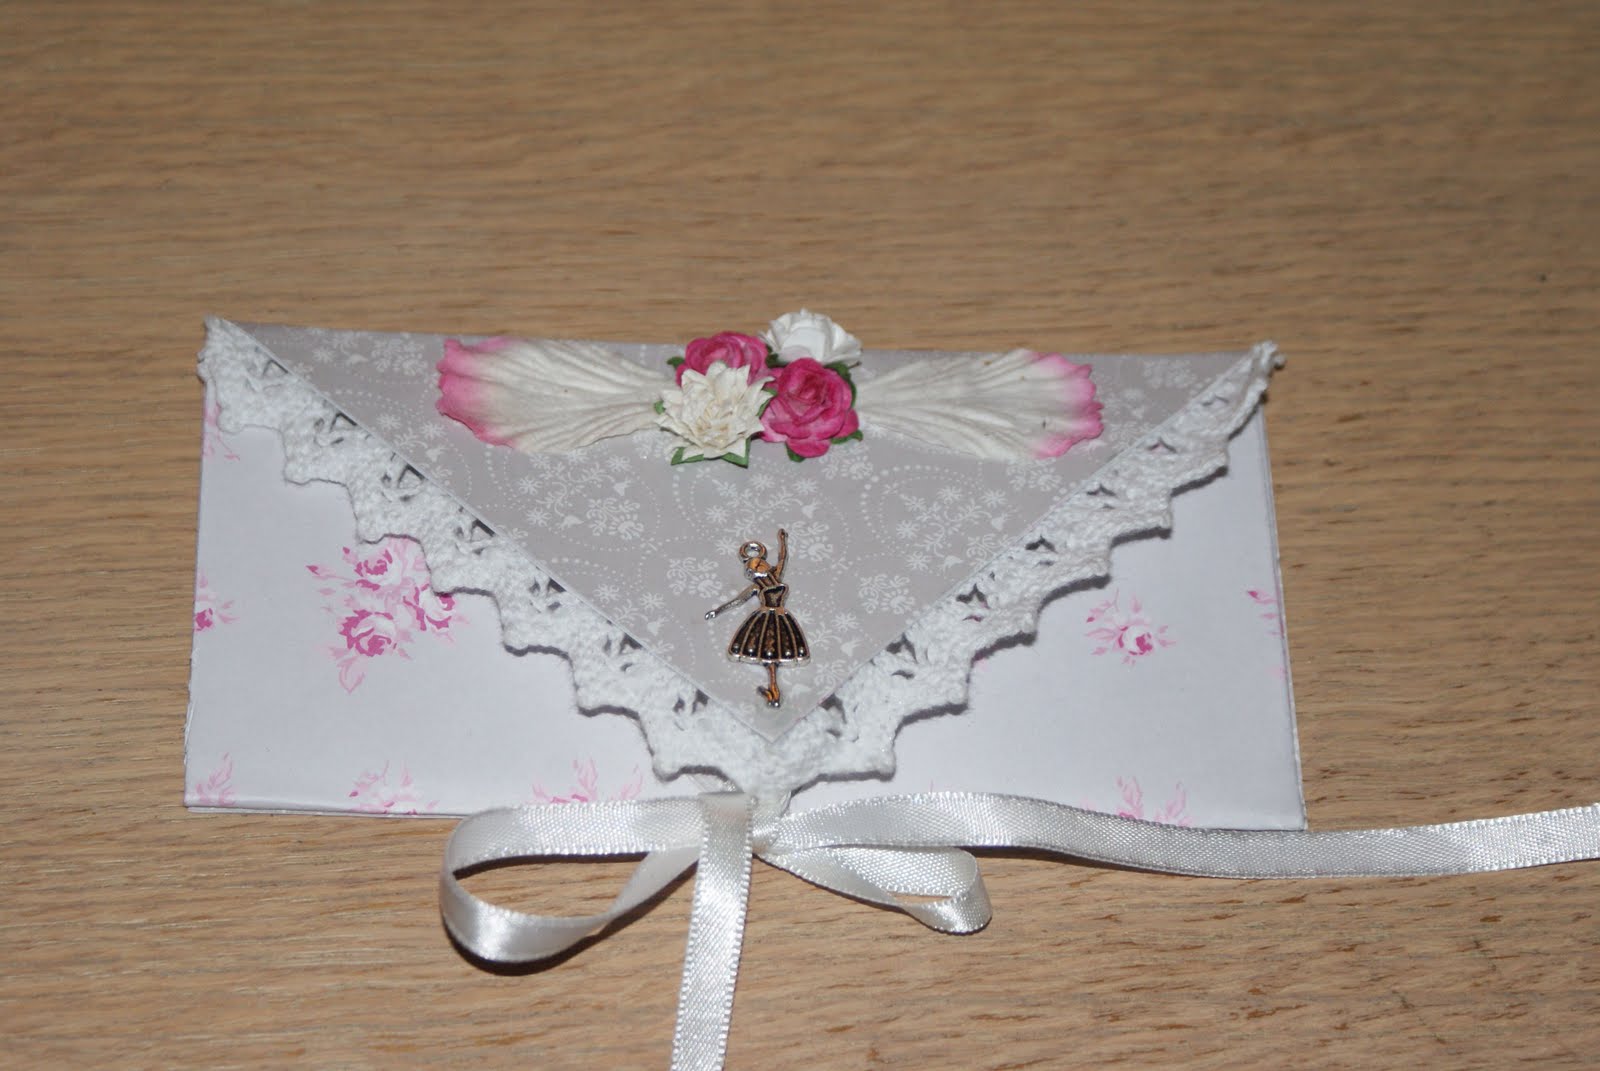
Hope you enjoyed the tutorials (even if my english isn't the best...) and that you did get some inspiration to make your own envelopes sometimes.
Inga kommentarer:
Skicka en kommentar
Obs! Endast bloggmedlemmar kan kommentera.